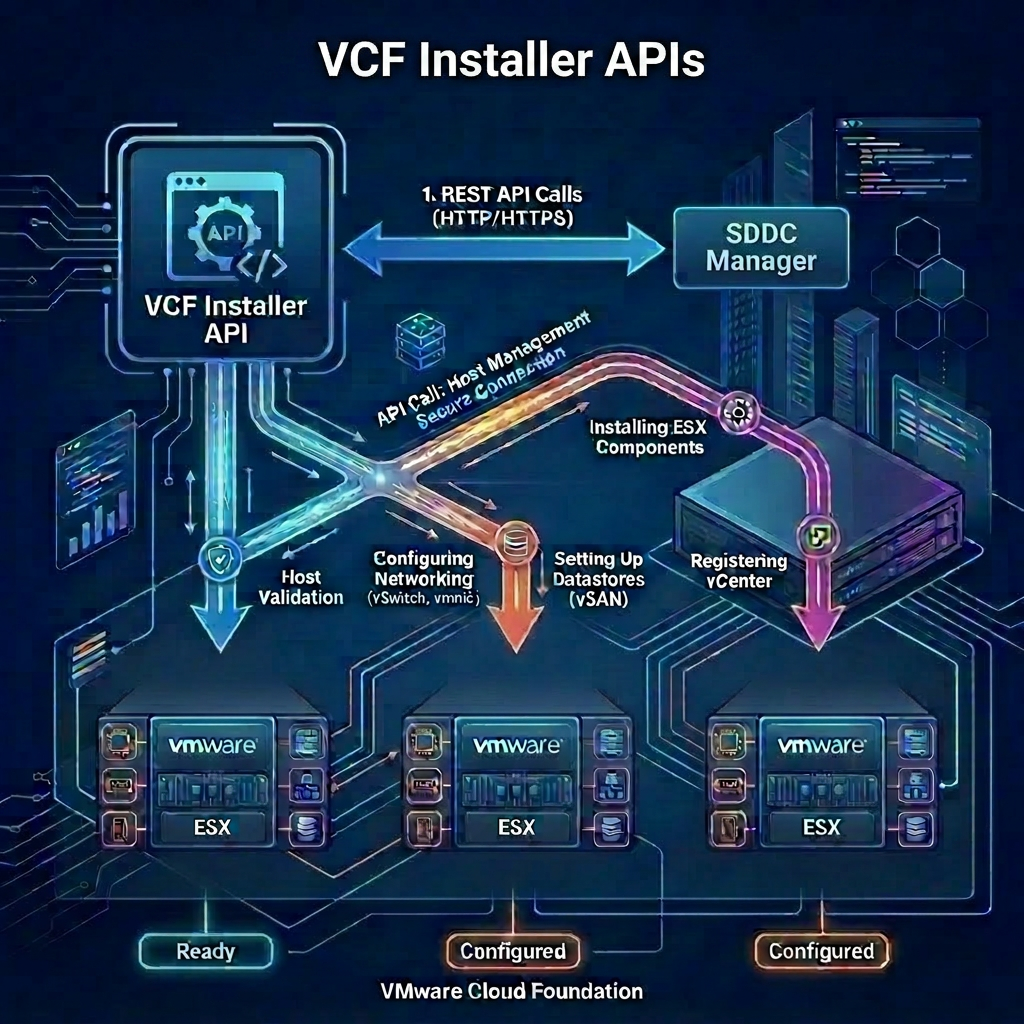
One of my customers reached out to me today to ask for help on how to change the DNS / NTP settings of their already deployed VCF Installer appliance. Specifically they were trying to alter the initial value used for NTP, after making the change via the linux console they were observing that when you walk-through the VCF Installer UI deployment wizard it was always displaying the original details and because of this the new value did not match throwing a validation in the UI and therefore they were blocked from moving forward.
After a bit of investigation I found the following, firstly the VCF Installer UI uses the public API v1/system/appliance-info to retrieve the appliance configuration which it uses to populate the values, secondly the appliance is configured using vApp Options. So rather than just making the adjustments through a linux console you also need to amend the vApp Options to match your changes.
Part A – Update the VCF Installer vApp Options
-
Log in to the vCenter interface at https://<vcenter_fqdn>/ui as a user assigned the Administrator role.
-
Located your VCF Installer VM.
-
Right-click the VCF Installer VM, select Power > Shut Down Guest OS and click Yes.
-
Select the VCF Installer VM, navigate to the Configure tab.
-
Under Settings, select vApp Options.
-
Under Properties, select the radio button for each of the following keys, click Set Value enter the new value click OK.
vami.DNS.SDDC-Manager
vami.domain.SDDC-Manager
guestinfo.ntp
vami.searchpath.SDDC-Manager
-
Right-click the VCF Installer VM, select Power > Power On.
-
Wait for the VCF Installer VM to finishing booting and then move to Part B.
Part B – Update the VCF Installer within the Linux Console
-
Connect to VCF Installer over SSH and login using the vcf user.
-
Switch to root by running the following command:
su
- Edit the
/etc/ntp.conffile and save by running the following command:
vi /etc/ntp.conf
- Restart the NTP service by running the following command:
systemctl restart ntpd
- Verify the status of the NTP service by running the following command:
ntpq -p
- Navigate to the
/etc/systemd/network/directory by running the following command:
cd /etc/systemd/network/
- Edit the
10-eth0.networkfile and save by running the following command:
vi 10-eth0.network
- Restart the
systemd-networkdservice by running the following command:
systemctl restart systemd-networkd
Part C – Verify the New Configuration using the API
VCF Installer APIs Used
- POST /v1/tokens
- GET /v1/system/appliance-info
Procedure
-
Connect to a system that has access to your infrastructure and is capable of running CURL.
-
Replace the values in the sample code with values for your VCF Installer instance and run the commands in the console.
export vcfInstallerFqdn='sfo-ins01.sfo.rainpole.io'
export vcfInstallerUser='admin@local'
export vcfInstallerPass='VMw@re1!VMw@re1!'
- Authenticate to VCF Installer and obtain a token by running the following command:
vcfInstallerToken=$(curl -k -X POST "https://$vcfInstallerFqdn/v1/tokens" \
    --header 'Content-Type:application/json' \
    -d "{\"username\":\"$vcfInstallerUser\", \"password\":\"$vcfInstallerPass\"}" \
    | jq -r '.accessToken')
- Verify you were able to successfully obtain an authentication token by running the following command:
echo $vcfInstallerToken
- Verify the new configuration by running the following command:
curl -k -X GET "https://$vcfInstallerFqdn/v1/system/appliance-info" \
  --header "Authorization: ${vcfInstallerToken}" \
  --header "Content-Type:application/json" \
  | jq
Leave a Reply