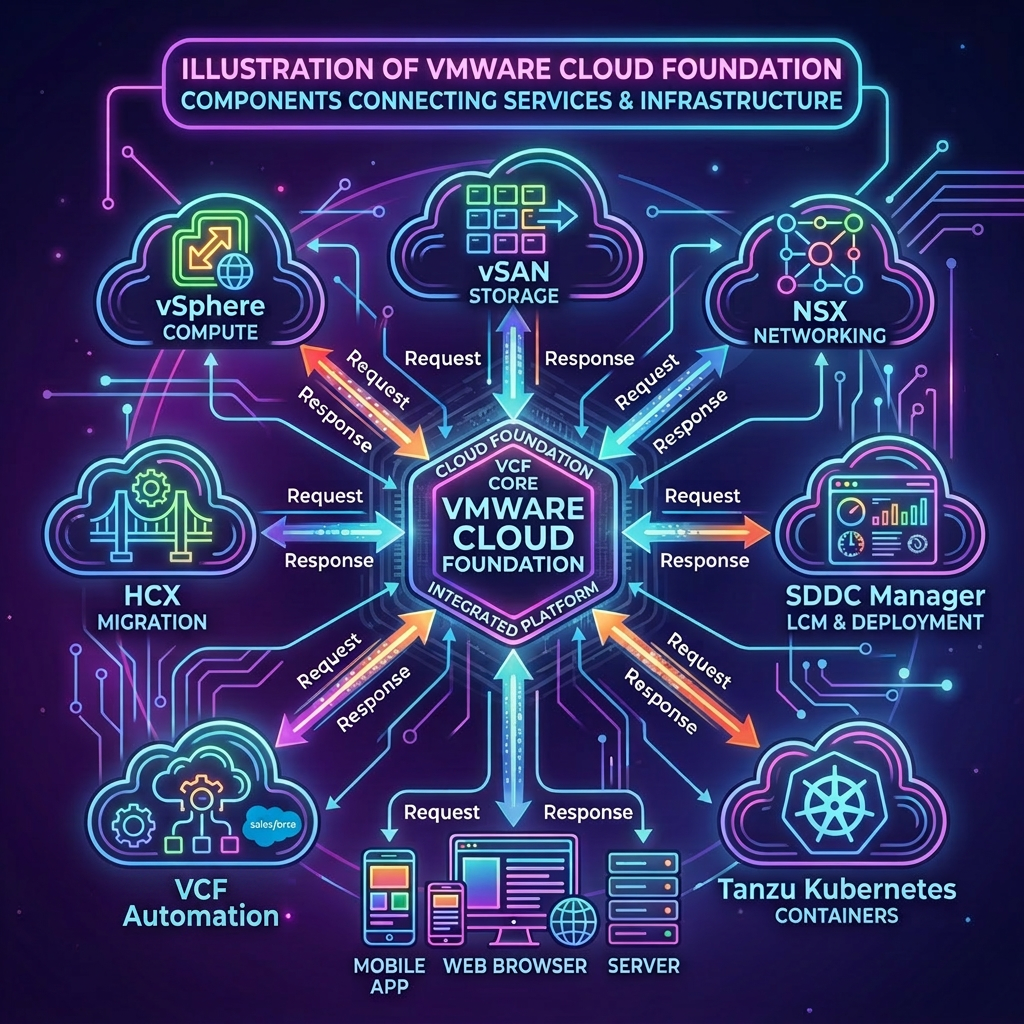
Whilst VCF Automation is typically deployed during the initial VMware Cloud Foundation deployment phase via VCF Installer it is possible to skip the deployment initially for various reasons such as may you don’t have a use case initially or you want to deploy to a different network that is not available at the time. Under such scenarios you can easily deploy as a Day N task.
In this post we will look at how the VCF Automation component can be deployed using the public APIs, this is achieved via the VCF Fleet Lifecycle Service which is tightly integrated into VCF Operations.
VCF Fleet Lifecycle Service APIs Used
- POST /api/v1/identity/token
- GET /fleet-lcm/v1/sddc-lcms
- POST /fleet-lcm/v1/components/validations
- POST /fleet-lcm/v1/components
- GET /fleet-lcm/v1/tasks/{taskId}
Procedure
-
Connect to a system that has access to the infrastructure and is capable of running CURL.
-
Replace the values in the sample code with values for your VCF Fleet Lifecycle Service and paste the commands in the console. If your not sure which endpoint this FQDN should be log into VCF Operations, go to Build > Lifecycle > VCF Management and select the Components tab and locate the component named Fleet lifecycle the FQDN is shown in the FQDN column.
export vcfFleetLifecycleFqdn='flt-fc01.rainpole.io'
export vcfFleetLifecycleUser='admin@vsp.local'
export vcfFleetLifecyclePass='VMw@re1!VMw@re1!'
- Authenticate to the VCF Fleet Lifecycle Service and obtain a token by running the following command:
vcfFleetLifecycleToken=$(curl -k -X POST "https://$vcfFleetLifecycleFqdn/api/v1/identity/token" \
    -H 'Content-Type: application/x-www-form-urlencoded' \
    --data "grant_type=password" \
    --data "username=$vcfFleetLifecycleUser" \
    --data "password=$vcfFleetLifecyclePass" \
    | jq -r '.access_token')
- Verify you successfully obtained an authentication token by running the following command:
echo $vcfFleetLifecycleToken
Example Output:
eyJhbGciOiJFZERTQSIsImtpZCI6Ilg4Mk5veGNJRlVCVEFiY0xPM1NUdU12UTF6Qlo4d01xeUxDTGNuOGZYdFUiLCJ0eXAiOiJKV1QifQ.eyJpc3MiOiJodHRwczovL2ZsdC1mYzAxLnJhaW5wb2xlLmlvIiwic3ViIjoiYWRtaW5AdnNwLmxvY2FsIiwiYXVkIjpbInZzcCJdLCJleHAiOjE3ODM0MzU1NTIsImlhdCI6MTc4MzQyMTE1MiwianRpIjoiMjA3OTg0MDgtZGE3OC00N2UzLTgxMDctNDAyMThkNjM1ZThmIiwiYXpwIjoicGFzc3dvcmRfZ3JhbnRfY2xpZW50IiwiYWNjdCI6ImFkbWluQHZzcC5sb2NhbCIsImF1dGhvcml6YXRpb25fZGV0YWlscyI6bnVsbH0.OsXjW3cgwZaEMXwZC6MOqOped5MX1wdf3wpUmjZLaRiXeug4rtm9dnWHvPrp5pM74MNsVEjhbeT3u0TJjgIIBQ
- First we retrieve the unique ID of the SDDC instance by running the following command:
primarySddcLcms=$(curl -k -X GET "https://$vcfFleetLifecycleFqdn/fleet-lcm/v1/sddc-lcms" \
  --header "Authorization: Bearer ${vcfFleetLifecycleToken}" \
  --header "Accept: application/json" \
  --header "Content-Type: application/json" \
  | jq -r '.sddcLcms[] | select(.isPrimary == true) | .id')
- Verify you successfully obtained the SDDC instance by running the following command:
echo $primarySddcLcms
Example Output:
3e8d0034-906b-49cb-9c47-3afa8d919192
- Replace the values in the sample code with values for the deployment of your VCF Automation instance and paste the commands in the console.
export automationFqdn='flt-auto01.rainpole.io'
export automationPlatformFqdn='flt-vcfa-sr01.rainpole.io'
export automationIpRangeStart='10.11.10.46'
export automationIpRangeEnd='10.11.10.50'
export automationSize='small'
export automationAdminPass='VMw@re1!VMw@re1!'
export automationSystemPass='VMw@re1!VMw@re1!'
- Create the JSON payload for the VCF Automation instance deployment by running the following command:
cat << EOF > automation-deploy.json
{
  "componentSpecs": [
    {
      "componentType": "VCFA",
      "deploymentType": "VspComponentSpec",
      "sddcLcmId": "${primarySddcLcms}",
      "fqdn": "${automationFqdn}",
      "version": "9.1.0.0",
      "configSpec": {
        "size": "${automationSize}",
        "adminSystemPassword": "${automationAdminPass}"
      },
      "vspClusterSpec": {
        "deploymentType": "VspClusterSpec",
        "sddcLcmId": "${primarySddcLcms}",
        "platformFqdn": "${automationPlatformFqdn}",
        "systemUserPassword": "${automationSystemPass}",
        "size": "${automationSize}",
        "ipv4Pool": {
          "ipRange": {
            "startIpAddress": "${automationIpRangeStart}",
            "endIpAddress": "${automationIpRangeEnd}"
          }
        }
      }
    }
  ]
}
EOF
- Verify the JSON payload has been populated correctly by running the following command:
cat automation-deploy.json
Example Output:
{
  "componentSpecs": [
    {
      "componentType": "VCFA",
      "deploymentType": "VspComponentSpec",
      "sddcLcmId": "3e8d0034-906b-49cb-9c47-3afa8d919192",
      "fqdn": "flt-auto01.rainpole.io",
      "version": "9.1.0.0",
      "configSpec": {
        "size": "small",
        "adminSystemPassword": "VMw@re1!VMw@re1!"
      },
      "vspClusterSpec": {
        "deploymentType": "VspClusterSpec",
        "sddcLcmId": "3e8d0034-906b-49cb-9c47-3afa8d919192",
        "platformFqdn": "flt-vcfa-sr01.rainpole.io",
        "systemUserPassword": "VMw@re1!VMw@re1!",
        "size": "small",
        "ipv4Pool": {
          "ipRange": {
            "startIpAddress": "10.11.10.46",
            "endIpAddress": "10.11.10.50"
          }
        }
      }
    }
  ]
}
- Validate the JSON payload by running the following command:
validationId=$(curl -k -X POST "https://$vcfFleetLifecycleFqdn/fleet-lcm/v1/components/validations" \
  --header "Authorization: Bearer ${vcfFleetLifecycleToken}" \
  --header "Accept: application/json" \
  --header "Content-Type: application/json" \
   -d @automation-deploy.json | jq -r ".id")
- Check the status of the validation by running the following command:
curl -k -X GET "https://$vcfFleetLifecycleFqdn/fleet-lcm/v1/tasks/$validationId" \
    --header "Authorization: Bearer ${vcfFleetLifecycleToken}" \
    --header "Accept: application/json" \
    --header "Content-Type: application/json" \
    | jq
- The command in step 11 may need to be run multiple times, alternatively you can run the command over and over by running the following command:
while curl -k -X GET "https://$vcfFleetLifecycleFqdn/fleet-lcm/v1/tasks/$validationId" \
    --header "Authorization: Bearer ${vcfFleetLifecycleToken}" \
    --header "Accept: application/json" \
    --header "Content-Type: application/json" \
    | jq '{status: .status}' \
    | grep -q "RUNNING"; do
    echo "Still in 'RUNNING' state... waiting 2 seconds."
    sleep 2
done
- Start the deployment by running the following command:
deploymentId=$(curl -k -X POST "https://$vcfFleetLifecycleFqdn/fleet-lcm/v1/components" \
  --header "Authorization: Bearer ${vcfFleetLifecycleToken}" \
  --header "Accept: application/json" \
  --header "Content-Type: application/json" \
  -d @automation-deploy.json | jq -r ".id")
- Check the status of the deployment by running the following command:
curl -k -X GET "https://$vcfFleetLifecycleFqdn/fleet-lcm/v1/tasks/$deploymentId" \
    --header "Authorization: Bearer ${vcfFleetLifecycleToken}" \
    --header "Accept: application/json" \
    --header "Content-Type: application/json" \
    | jq
- The command in step 11 would need to be run multiple times, alternatively you can run the command over and over by running the following command:
while curl -k -X GET "https://$vcfFleetLifecycleFqdn/fleet-lcm/v1/tasks/$deploymentId" \
    --header "Authorization: Bearer ${vcfFleetLifecycleToken}" \
    --header "Accept: application/json" \
    --header "Content-Type: application/json" \
    | jq '{status: .status}' \
    | grep -q "RUNNING"; do
    echo "Still in 'RUNNING' state... waiting 60 seconds."
    sleep 60
done
Leave a Reply